


Note: This article is for informational purposes only. Always refer to the manufacturer's instructions for your fittings. If you are unsure, consult a qualified professional. We accept no liability for any damages.
Limescale deposits on faucets
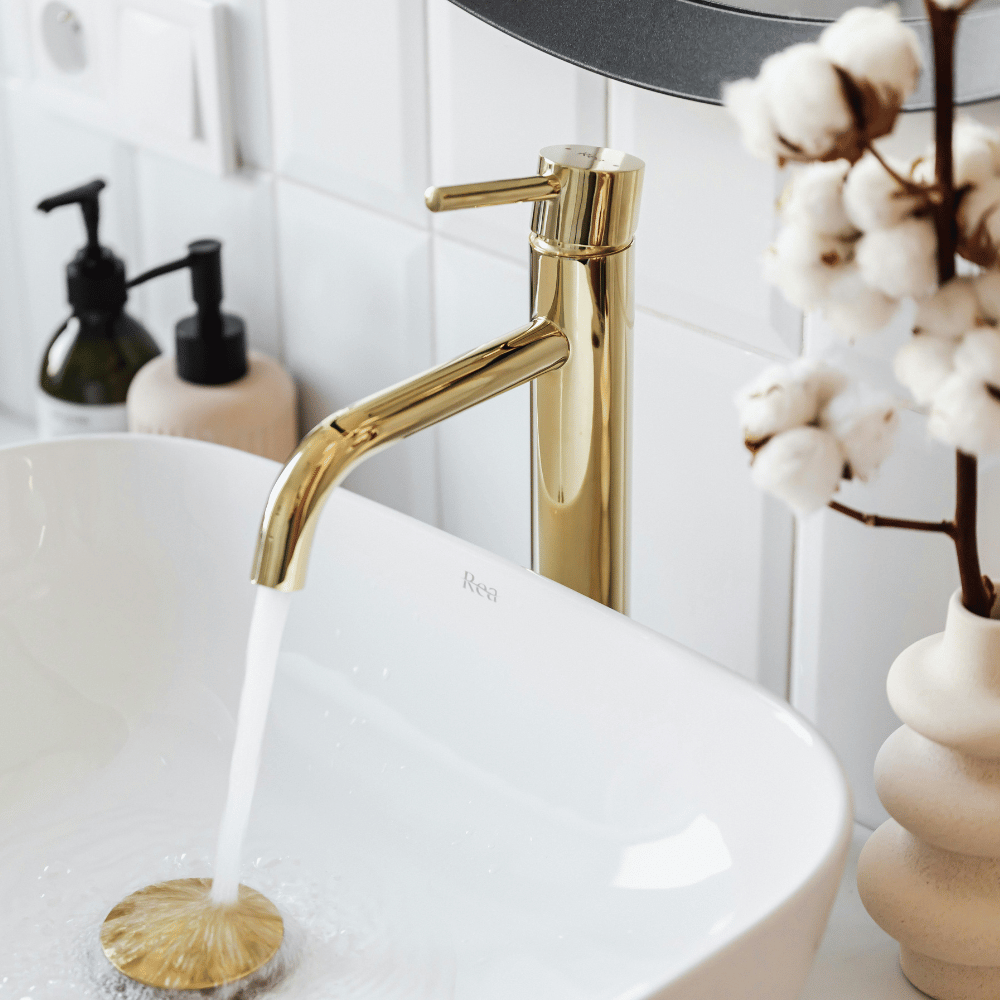
Bathroom and kitchen fixtures can develop limescale deposits over time, especially in areas with hard water. These deposits can detract from the appearance and reduce water flow. In many cases, limescale deposits can be removed using appropriate methods.
How can you recognize limescale deposits?
Typical signs of limescale deposits:
- White or grey deposits on chrome or stainless steel surfaces
- Reduced water flow at the outlet
- Uneven water jet
- Rough surfaces on normally smooth fittings
- Blocked aerators (perlators)
Descaling a faucet – methods
Method 1: Surface descaling
For light limescale deposits on the faucet:
- Apply a suitable descaler to a soft cloth.
- Rub the affected areas
- Allow the product to take effect according to the product instructions.
- Wipe with clean water afterwards
- Dry the fitting with a soft cloth.
Our 1L universal descaler can be used for faucets. Please refer to the instructions on the product label.
Method 2: Descaling the aerator (perlator)
With reduced water flow:
- Unscrew the aerator (usually by hand or with pliers and a cloth)
- Place it in a bowl with diluted descaler.
- Allow it to take effect according to the product instructions.
- Rinse thoroughly with clean water.
- Screw it back on
Method 3: Descaling with attachment
For targeted descaling directly at the tap, a tap attachment can be used. This is attached to the spout and filled with descaling solution. The advantage: material savings and targeted action at the nozzle.
Descaling the shower head
Option 1: Unscrew the shower head
- Unscrew the shower head
- Place it in a bowl containing descaling solution.
- Allow it to take effect according to the product instructions.
- Rinse thoroughly with water.
- Screw it back on
Option 2: Do not unscrew the shower head
- Fill a freezer bag with descaling solution.
- Attach the bag to the shower head so that it is completely submerged.
- Secure the bag with a rubber band.
- Let the solution take effect
- Remove the bag and rinse thoroughly.
What materials are available for fittings?
Different materials require different attention:
- Chromium: Generally tolerates commercially available descalers well.
- Stainless steel: Robust, but sensitive to chlorine-containing products.
- Brass: Can tarnish when exposed to overly aggressive cleaning agents.
- Plastic: Check the descaler's material compatibility
Important: Test the descaler on an inconspicuous area first.
What should be avoided?
- Abrasive cleaners: Can scratch surfaces
- Steel wool: Damages chrome and stainless steel
- Excessive exposure times can damage surfaces.
- Undiluted acids: Can damage materials
Information on home remedies
Frequently recommended home remedies:
- Vinegar: Can dissolve limescale, but can also damage seals and leave an unpleasant odor.
- Citric acid: Effective against limescale, but can damage surfaces if incorrectly dosed.
Special descalers are usually tested for material compatibility and are easy to dose.
Prevent limescale deposits
Preventive measures can help:
- Wipe fittings dry after use
- Regular cleaning (weekly)
- Water softening systems can reduce limescale buildup.
- Clean the aerator regularly.
When professional help can be helpful
In the following cases, consulting a specialist company may be advisable:
- Massive calcifications that cannot be dissolved
- Damaged fittings
- Leaks after cleaning
- Uncertainty regarding the material
Summary
Descaling faucets can often be done yourself with suitable products and the correct procedure. Regular maintenance can help prevent heavy limescale buildup.
Safety note: Use descaling products only according to the manufacturer's instructions. Observe safety data sheets and warnings. In case of skin contact, rinse thoroughly with water. Keep cleaning agents out of the reach of children.


